


Summary:
Pimcore is an open-source platform that unifies PIM, DAM, CMS, and e-commerce, enabling businesses to manage all product data and digital assets in one place. It supports large catalogs, offers full customization, and ensures seamless B2B and B2C integration without vendor lock-in.
August 12, 2025
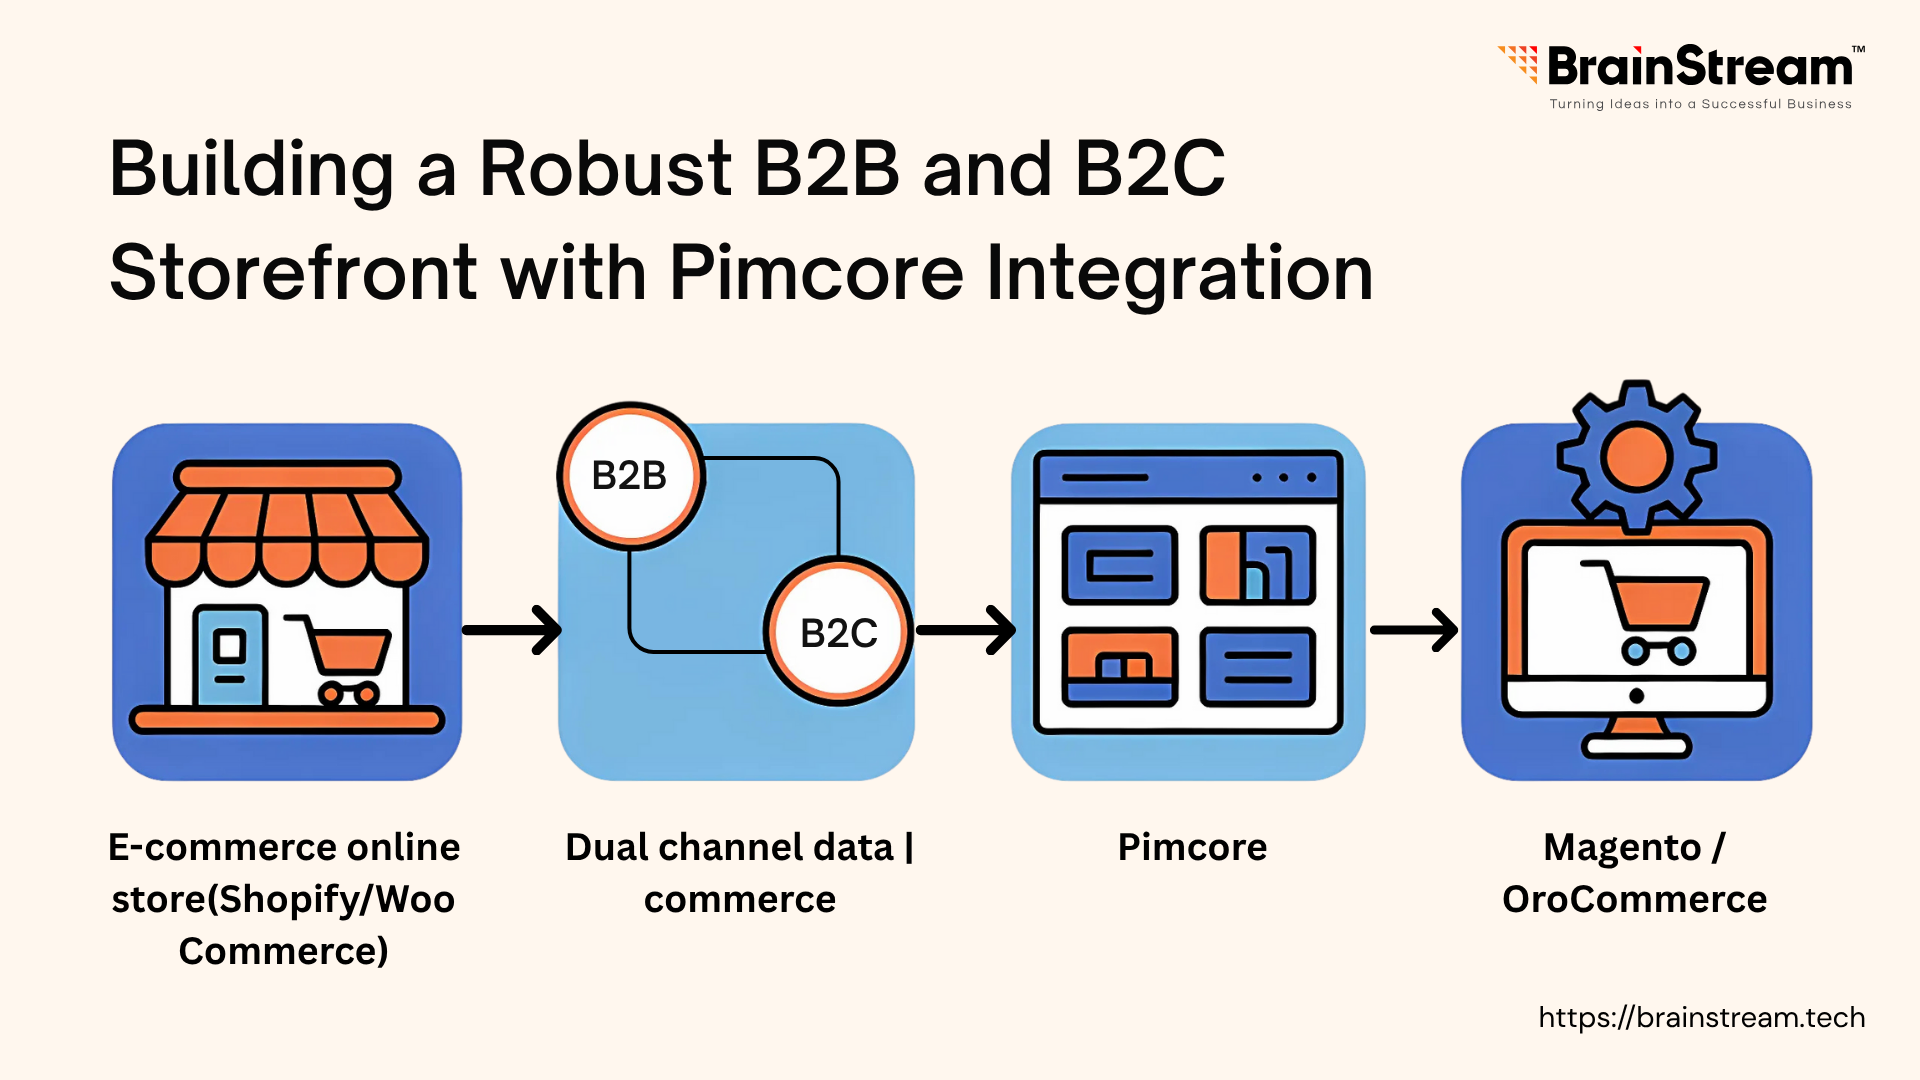
Pimcore combines several essential tools into one platform: Product Information Management (PIM), Digital Asset Management (DAM), Content Management (CMS), and e-commerce functionality. This open-source solution helps businesses manage their product data and digital assets from a central location.
Many companies struggle with scattered product information across different systems. Pimcore solves this by providing a single source of truth for all product data, whether you’re selling to businesses (B2B) or consumers (B2C).
The platform handles large product catalogs well and doesn’t lock you into proprietary systems. Since it’s open-source, you can modify it to fit your specific needs and integrate it with your existing tools.
Prerequisites
- Docker and Docker Compose on your local machine.
- Basic knowledge of PHP and MySQL.
- Git client to clone the Pimcore demo repository.
Step 1: Setting Up the Pimcore Environment
Start by creating a project directory (e.g., ~/workspace/pimcore_ecommerce) and cloning the official Pimcore demo from GitHub:
mkdir ~/workspace/pimcore_ecommerce
cd ~/workspace/pimcore_ecommerce
git clone https://github.com/pimcore/demo.git.
Configure the environment using the included docker-compose.yml in the clone, which sets up PHP, MySQL, and an Nginx server.
Launch the stack with: docker-compose up -d –build
Access the backend admin at http://localhost/admin with the default credentials (admin/demo) to explore the interface and begin customization.
Step 2: Configuring Data Objects for Products
Pimcore organises product information using “Data objects”. Think of these as templates for your products.
In the admin panel, you’ll create a Product class with the necessary fields: Product name, SKU, Price (you may want different pricing for B2B vs. B2C), Description, Images & Category information.
For B2B customers, you might add fields for bulk pricing or minimum order quantities. For B2C, you might focus more on detailed descriptions and multiple product images.
You can add products manually through the interface or import them from CSV files. This centralised approach means you update product information once, and it appears everywhere you use it.
Step 3: Setting Up Asset Management
The Digital Asset Management feature helps organise all your product images, PDFs, and other files. Create folders in the admin interface to keep things organised – for example:
- /product_images/electronics
- /product_images/clothing
- /documents/user_manuals
Pimcore can automatically create different image sizes for your website and add watermarks if needed. This keeps your brand consistent across all channels.
Step 4: Building the Storefront
You have two main approaches here:
Option 1: Build with Pimcore’s native
Pimcore includes its own e-commerce framework built on Symfony. You can create product listing pages using controllers and Twig templates. This works well if you’re starting from scratch.
Option 2: Connect to Existing Platforms
Most businesses already have storefronts running on Shopify, Magento, or similar platforms. Pimcore can enhance these existing setups rather than replace them.
Connecting Pimcore to Your Current Storefront:-
Shopify Integration
Use Pimcore’s Datahub or REST API to push product data to Shopify. Set up webhooks so inventory and pricing updates happen automatically. This saves hours of manual work when you have hundreds or thousands of products to manage.
Magento Integration
Pimcore offers a dedicated Magento connector, or you can build custom API connections. This works particularly well for B2B businesses that need complex pricing structures and detailed product catalogs.
OroCommerce Integration
Connect through Pimcore’s APIs to enhance Oro’s B2B capabilities. Since OroCommerce focuses on business customers, Pimcore’s detailed product data helps create more personalised experiences.
Step 5: Integrating with Custom Services
For advanced functionality, integrate custom services like product recommendations. Pimcore’s extensibility allows you to add AI-driven features or connect with existing systems, enhancing personalization for B2C customers or tailored catalogs for B2B partners.
Step 6: Connecting to ERP and Payment Gateways
Pimcore can link with ERP systems (SAP, Odoo) via APIs to sync orders and inventory. Additionally, integrating payment gateways like Stripe or PayPal ensures smooth transactions, supporting both B2B and B2C payment flows.
These integrations save time, ensure data accuracy, and allow businesses to retain their preferred storefronts while upgrading their backend capabilities with Pimcore.
Real-World Benefits
After implementing Pimcore for several clients, here’s what actually improved:
Time Savings: Product updates that used to take 2-3 hours now take 10 minutes. You change it once in Pimcore and it updates everywhere.
Fewer Errors: When product info lives in one place, you can’t have different prices showing on your website versus your mobile app.
Better B2B Experience: Custom pricing, bulk order forms, and role-based product visibility become much easier to manage.
Scalability: Adding new sales channels doesn’t mean manually entering product data again. Everything pulls from the same source.
Conclusion
Building a robust B2B and B2C storefront with Pimcore integration provides businesses with a versatile solution to meet diverse market demands. Its ability to centralise data, manage assets, and integrate with external systems like Shopify, Magento, and OroCommerce makes it a strategic choice for growth.
Here’s my recommended approach for your first Pimcore project:
- Start with the demo installation to get familiar with the interface
- Import a small subset of your product catalog (maybe 50-100 products)
- Set up basic asset management for product images
- Build a simple API integration with your existing storefront
- Test thoroughly with real orders before going live
Gradually, you can add more complex features like custom pricing or inventory sync etc., The mistake I see most often is trying to build everything perfectly from day one. Better to get something working and improve it over time.

Anand Dattani 

Anand Dattani is a Senior Developer at BrainStream Technolabs. He is an experienced developer specializing in PHP and modern MVC frameworks, with expertise in backend architecture and building scalable web solutions.
Share :


Related Blog
eCommerce Development
Shopware vs Shopify vs Adobe Commerce in 2026: Which One Should You Choose?
Shopware vs Shopify vs Adobe Commerce - Choosing the right eCommerce platform in 2026 is no longer just a technical decision; it’s a strategic growth decision. Whether you're a founder scaling a D2C brand, a CTO planning international expansion, or...

eCommerce Development
Top 5 Proven Seasonal Discount Tactics to Boost Your eCommerce Sales
Every eCommerce brand looks forward to seasonal spikes in sales. However, reducing prices simply because competitors are doing the same can quickly lead to a pricing war, where margins shrink and no one truly benefits. Seasonal discount pricing, when planned...
eCommerce Development
Dropshipping Business Model Explained: A Complete Beginner’s Guide
Welcome to this easy-to-understand guide on dropshipping, a popular and flexible way to start an online business without following traditional retail methods. In the digital age, dropshipping allows you to launch an eCommerce store without stocking or handling products yourself....


Keep up-to-date with our newsletter.
Sign up for our newsletter to receive weekly updates and news directly to your inbox.